In recent months, I have been challenging myself to adopt new forms of creative technology, most notably, 3D animation. With the recent rise in Augmented Reality, Virtual Reality, and 3D Printing, my goal is to stay ahead of the curve when it comes to adoption of these tools. This is not to mention that I get bored easily, and love the challenge of learning new skills.
My transition from conventional 2D design (or simulating 3D design using principles such as color and scale, and proximity) happened shortly after I started designing architectural and real estate motion graphics in Adobe After Effects. (You can read more about that project here.) I began experimenting heavily with the use of 3D layers in After Effects which I found to be very useful, but I could tell it was time to jump into legitimate 3D to achieve the results I was looking for.
The Chrysler Building (What Sparked This Whole Study)
Explorations
The process started out rough! I had 3D experience using Adobe Dimension and Aero, but neither of them fully prepared me for jumping into Blender to model and build objects from scratch! BUT, I got the hang of it. I still have a lot to learn, but I wanted to share a quick behind the scenes walkthrough of what I’ve made along the way.
432 Park Ave
This was the first fully custom 3D animation I created using Blender. I was so proud of this, and it took forever to render! It consisted of the building’s framework ascending from the ground quickly followed by its exterior walls and windows. After the skyscraper reaches its full height, day turns to night and the lights turn on inside the building.
I may come back to this project someday to clean it up and turn it into a full-fledged animation, but for now it remains a simple study.
Full Circle Design Logo
Animating Full Circle Design’s logo as a magnet was a fun, quick exploration I did just to test the waters of 3D branding. I have long simulated 3D design on 2D planes, and even 3D layers in After Effects, but I wanted to push my ideas into a fully 3D space. This was done without using the force fields and physics tools as I had no clue about those at this point. So the entire simulation was keyframed by hand!
Not earth shattering, but a step in the process that had to be taken!
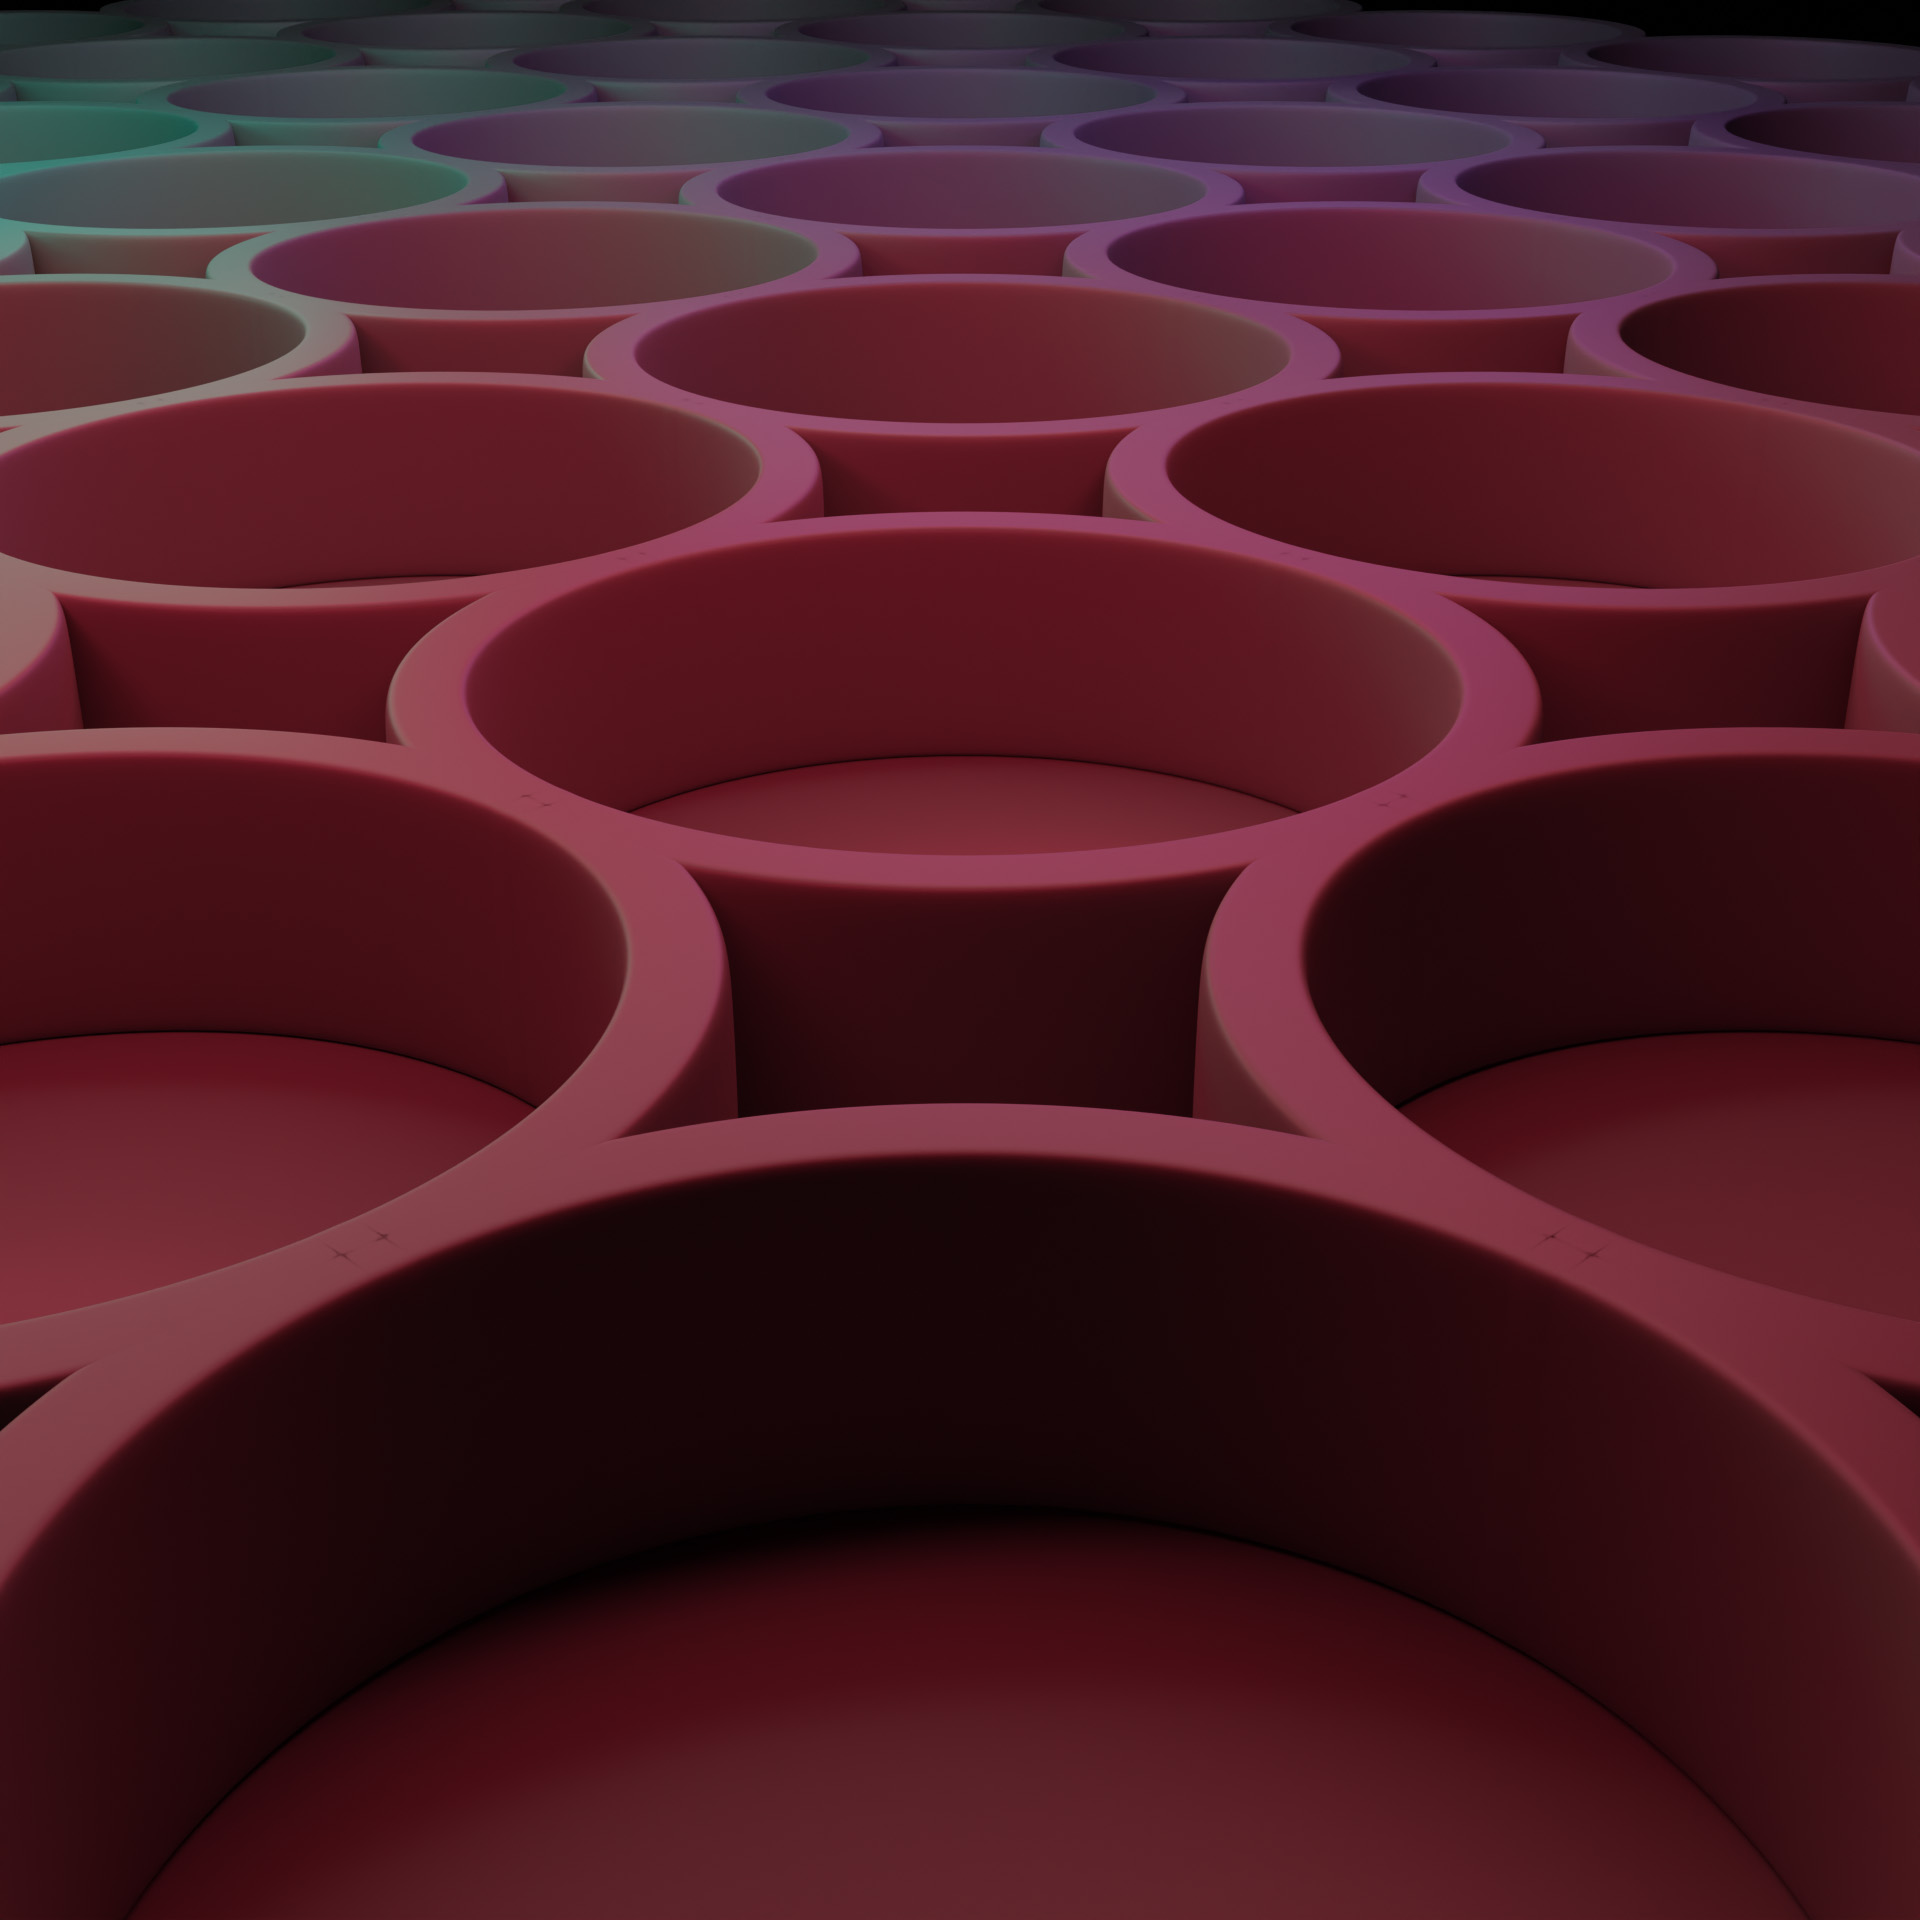
Gridwave
During the creation of this 3D Gridwave was where I started to feel fairly comfortable in the Blender workspace. This animation was created by adding a grid in the geometry nodes, instancing an iconosphere on the vertices of the grid, and applying a wave modifier. For those who are familiar with Full Circle’s brand, this animation isn’t much unlike the other graphics we commonly use on our website and promotional materials!
3D Floor Plan
This is what I was working myself up to! I have edited more floor plans in my life than you could ever imagine! This is an ongoing struggle for real estate agencies who have to translate technical floor plans into a user friendly marketing tool to lease a space. For those who want to enhance their viewer’s experience, why not let them see a 3D rendering of the space rather than a 2D layout? This was so much fun to make! Render time: an entire week—using two computers!
Particle Sound Wave
I punished myself so much learning the first gridwave (it really wasn’t that bad) that I thought, why not make the situation worse? (Really though, it wasn’t that bad!) I followed a tutorial that allowed me to animate the particle wave simulation using an audio trigger that would control the intensity of the waves. This was a close contender for our homepage animation but didn’t quite make the cut!
Particle Simulator
This is a legitimate particle system (unlike the others which were moreso instanced iconosphere meshes). Using the particle system tools in Blender paired with a few physics properties which help direct the flow of the particles, this animation did make the cut for our homepage!
Abstract Rotating Cube
By instancing small cube meshes on the vertices of a large cube mesh, and then applying a “Track To” object constraint to the small cubes, I was able to set the them to always face the camera, regardless of the parent cube’s orientation. This one was a surprising hit on YouTube shorts!
Jenga Block Simulator
This was my first hardcore introduction to Blender’s physics properties and rigid body settings. In this animation, you see sticks pushing jenga blocks out of the stack one-by-one until they all fall. This was fun, and not as difficult as I thought it would be! After rendering the animation, I created the sound effects in Logic Pro and paired them in After Effects. This animation got around 5K views on YouTube which really took me off guard!
Plank Building Destruction
There may be few real-life applications for such an animation, but this was soo much fun to make! My inner childhood rage was resurfaced on this stack of building blocks. I don’t have much else to say on this one.
Jenga Block Simulator 2
We may have gone on a tangent here… But in this study, we roughly quadrupled the height of the jenga stack? This is my last jenga animation.
YNST Magazine
Back to the real world! We are working with a client who recently published the first issue of their magazine. They asked us to create a 3D animation of the issue for them to share on their social platforms, so I followed a YouTube tutorial that they had recommended, and with a few tweaks and modifications, this was the result!
Procedural City
Procedural modeling is a little different from traditional modeling in the sense that you achieve the results using geometry nodes which replicate shapes along determined grids and meshes using mathematics. Each building was created individually using conventional 3D modeling techniques, and then instanced using nodes to populate the grid and appear as a city skyline.
Water Bubbles
In this exploration, I learned a ton about bouncing lights off of surfaces, setting an objects index of refraction, and then combining many of my learnings to create a really interesting composition with abstract bubbles filled with water. This is definitely one of my favorite tutorials I have followed and could see some very interesting real-world applications for this style of animation. (Coca-Cola commercial?)
So, What Next?
Learning these tools is not meant to replace my current specialization in branding and web design. This is simply a tool to enhance the brand experiences that I get to create with my clients, and I look forward to using them more often in the future!

 Reopen Form